Water tank liners help maintain a protective barrier between stored water and the tank’s supporting structure. Over time, liners may develop damage through ageing, mechanical stress, chemical exposure, or installation defects.
Some problems are immediately visible, while others develop around seams, fittings, and concealed surfaces. Without appropriate inspections, minor defects can remain unnoticed until leakage or further deterioration occurs.
A water tank liner inspection helps identify potential damage, assess membrane condition, and determine whether further investigation is necessary.
However, inspections must account for tank access, stored water quality, and confined-space hazards. Entering a water tank without suitable procedures can create serious safety risks.
This guide explains how to inspect a water tank liner, identify common defects, document findings, and decide when professional assessment is required.
Why are Water Tank Liner Inspections Important?
Water tank liners can experience different forms of deterioration throughout their service life. Even when a liner is manufactured from a suitable material, environmental conditions and mechanical stresses may affect its performance.
Regular inspections can help identify developing problems before they become more extensive.
The main objectives of a liner inspection include:
-
Identifying visible damage and deterioration.
-
Checking seams and connection details.
-
Assessing areas exposed to mechanical stress.
-
Investigating possible leakage.
-
Recording changes in membrane condition.
-
Supporting maintenance and repair planning.
-
Determining whether specialist testing is necessary.
However, a visual inspection cannot confirm every aspect of liner integrity. Some defects may remain concealed beneath fittings, behind folds, or within inaccessible sections.
Additional testing may be necessary when leakage is suspected.
What Happens when Liner Damage Goes Undetected?
An undetected defect may allow stored water to contact the tank structure. The consequences depend on the tank material, operating conditions, and location of the damage.
Possible outcomes include:
-
Water leakage.
-
Moisture exposure affecting structural components.
-
Progressive enlargement of existing defects.
-
Increased maintenance requirements.
-
Unexpected tank downtime.
-
Potential water quality concerns.
-
More extensive repair work.
Early identification can help operators make informed maintenance decisions. However, not every visible irregularity indicates a serious liner failure.
Findings should be assessed against the membrane manufacturer’s specifications and the tank’s operating requirements.
How often Should a Water Tank Liner be Inspected?
Inspection frequency depends on the tank’s purpose, condition, operating environment, and applicable requirements. There is no single inspection interval suitable for every water tank liner.
Factors influencing inspection frequency include:
-
Tank age and previous maintenance history.
-
Membrane material and manufacturer recommendations.
-
Water quality and chemical treatment.
-
Temperature and environmental exposure.
-
Previous leaks or repairs.
-
Accessibility of internal surfaces.
-
Consequences of containment failure.
-
Applicable Australian standards and maintenance obligations.
For fire protection water tanks, inspection requirements may be influenced by AS 1851 and the relevant system configuration. However, compliance obligations should be established using the applicable standard and site-specific requirements.
Potable water tanks may have additional hygiene and water quality considerations. Industrial storage tanks may require inspections based on the substances stored and their operating conditions.
Routine Checks vs Detailed Liner Inspections
Routine operational checks may identify external warning signs without entering the tank. Detailed inspections examine the liner itself and may require planned access.
| Inspection type | Main purpose | Typical activities |
|---|---|---|
| Routine external check | Identify visible operational concerns | Observe leaks, moisture, water levels, and accessible fittings |
| Accessible liner assessment | Identify visible membrane defects | Examine exposed liner surfaces and accessible connections |
| Detailed internal inspection | Assess internal membrane condition | Inspect seams, corners, fittings, and high-stress areas |
| Specialist integrity assessment | Investigate suspected containment failure | Use suitable testing methods and assess identified defects |
The appropriate inspection method depends on access and safety requirements.
What Should You Check Before Inspecting a Water Tank Liner?
Preparation is essential for an effective and safe inspection. Before examining the liner, operators should establish the tank’s condition and inspection requirements.
Review Tank Documentation
Available documentation may include:
-
Tank drawings and construction details.
-
Liner material specifications.
-
Installation records.
-
Previous inspection reports.
-
Repair and maintenance history.
-
Manufacturer recommendations.
-
Known leakage incidents.
-
Relevant water quality requirements.
These records can help identify areas requiring closer attention. For example, previously repaired seams may warrant additional examination.
Assess Access and Safety Risks
Water tanks can present confined-space hazards. Depending on the tank, risks may include oxygen deficiency, hazardous atmospheres, restricted entry, and difficult emergency access. Internal entry should only occur after an appropriate risk assessment.
Where applicable, Australian confined-space work requirements must be followed. These may include permits, atmospheric testing, isolation, standby personnel, and rescue arrangements.
A tank should never be entered solely because its water level is low. Visual inspections from outside the tank should be preferred when they can provide the necessary information.
Consider Water Quality Requirements
Potable water tanks require particular care during inspection. Equipment, personnel, and inspection methods must not introduce contamination.
Tank isolation, draining, cleaning, and recommissioning should follow appropriate procedures. Fire protection tanks also require careful planning.
Taking a fire water tank out of service may affect the site’s fire protection capability. Any impairment must be managed according to applicable requirements and site procedures.
Step-by-Step Guide to Inspecting a Water Tank Liner
A systematic inspection helps reduce the likelihood of overlooking important defects. The following steps provide a general framework for assessing liner condition.
They do not replace a site-specific inspection procedure or qualified professional assessment.
Step 1: Check for External Signs of Leakage
Begin by examining accessible areas around the tank.
Look for:
-
Unexplained moisture around the tank base.
-
Damp patches near joints or fittings.
-
Visible water escaping from the structure.
-
Unexplained changes in stored water levels.
-
Water accumulation around the foundation.
-
Evidence of previous leakage.
These observations may indicate a containment problem. However, external moisture does not automatically confirm liner failure.
Condensation, plumbing leaks, and other water sources should also be considered. Record the location and extent of any unusual findings.
Step 2: Examine Accessible Liner Surfaces
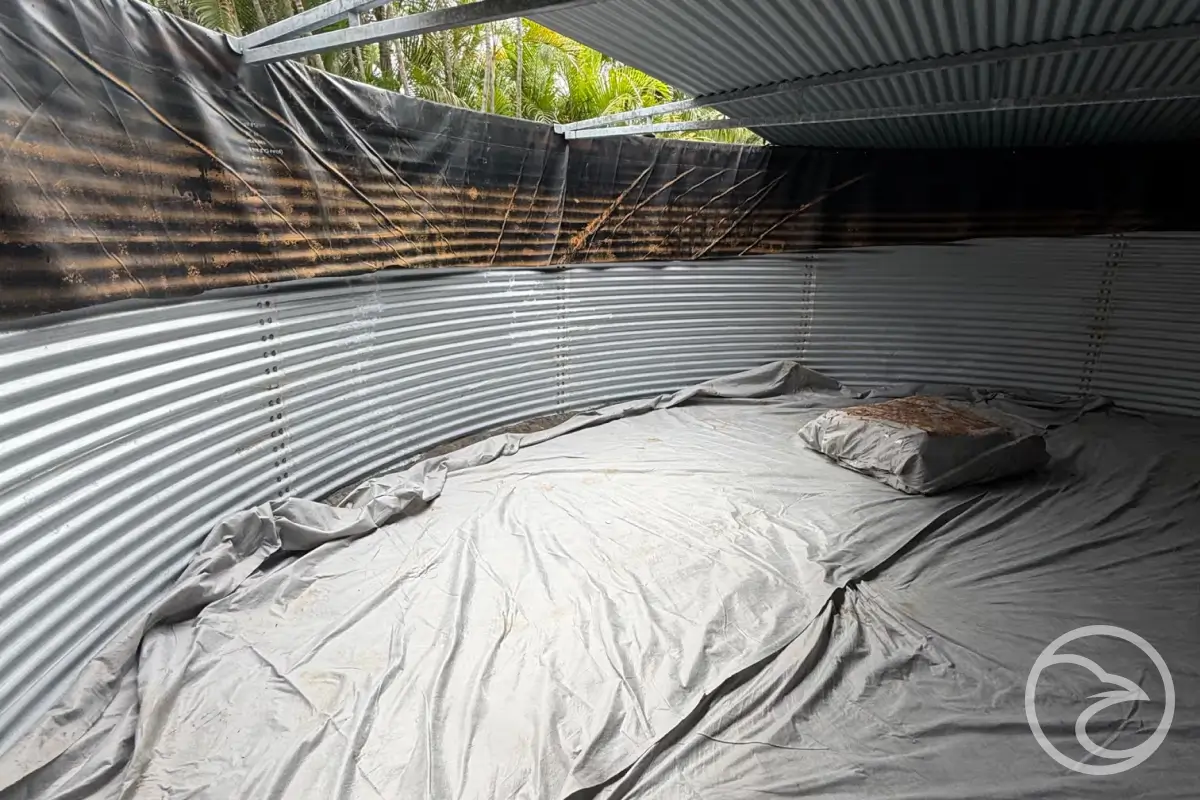
Where safe access is available, examine the liner for visible changes. Look for punctures, tears, abrasion, deformation, and unusual surface deterioration.
Pay attention to areas exposed to regular mechanical contact. Some membranes may display folds or surface markings without losing functionality.
The significance of these features depends on the material and installation design. Avoid pulling, cutting, or otherwise disturbing the membrane during inspection.
Step 3: Inspect Seams and Welded Joints
Seams are important components of a water tank liner. They connect membrane sections and help maintain a continuous barrier.
Potential warning signs include:
-
Visible seam separation.
-
Localised lifting.
-
Tears near welded sections.
-
Unusual distortion.
-
Damage around seam intersections.
-
Evidence of leakage near connections.
Not every surface irregularity indicates a failed seam. The joining method and manufacturer specifications should guide assessment.
Where seam integrity is uncertain, specialist testing may be necessary.
Step 4: Check Corners and High-Stress Areas
Tank corners and transitions may experience additional membrane stress. These areas often contain changes in geometry or supporting conditions.
Inspect accessible sections around:
-
Wall-to-floor transitions.
-
Internal corners.
-
Structural supports.
-
Changes in surface elevation.
-
Areas with pronounced folds.
-
Locations exposed to movement.
Look for excessive stretching, abrasion, or visible tears. The liner should remain appropriately supported according to its design.
Step 5: Examine Pipe Penetrations and Fittings
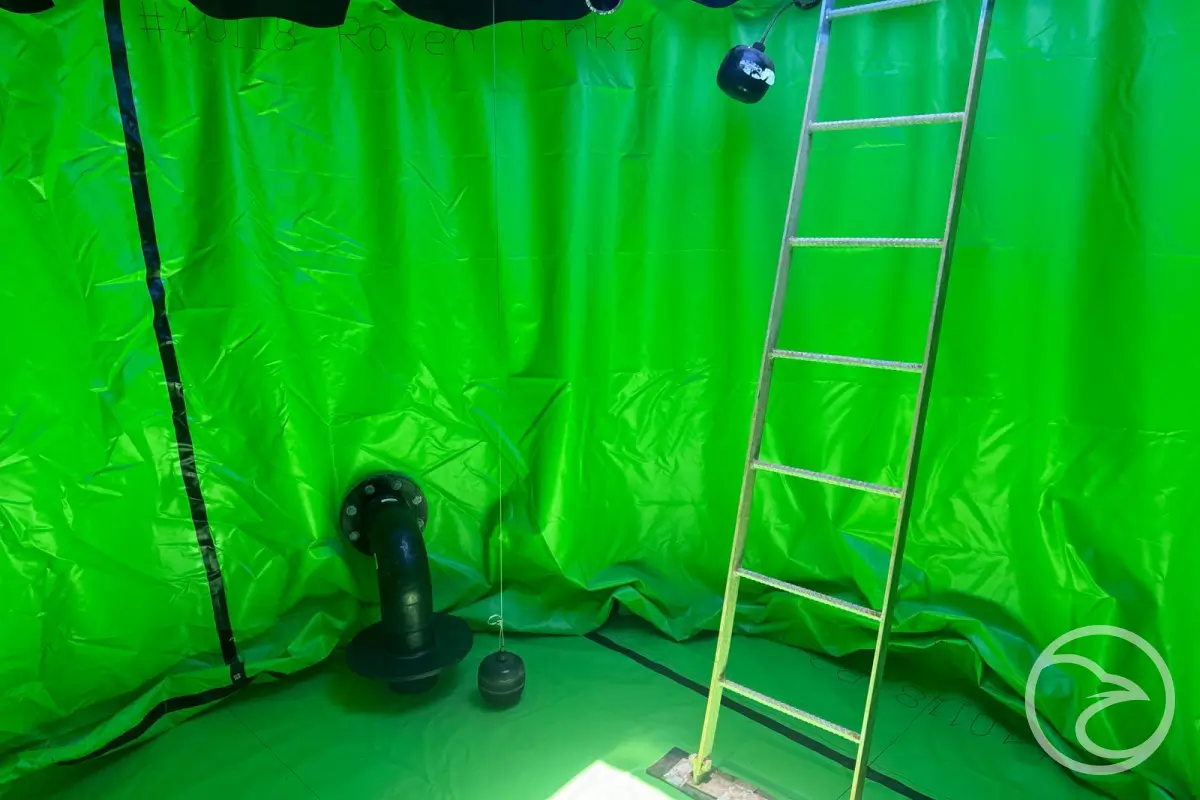
Penetrations create transitions between the liner and other tank components. Examples include inlet pipes, outlet fittings, drains, and overflow connections.
These areas require suitable sealing and connection details.
During inspection, check for:
-
Visible damage around fittings.
-
Loose or displaced connection components.
-
Membrane distortion.
-
Evidence of water movement.
-
Deteriorated sealing materials.
-
Signs of mechanical stress.
Connections should not be adjusted without understanding their design. Incorrect handling could damage the liner or compromise containment.
Step 6: Look for Signs of Material Deterioration
Membrane materials can change over time. Possible warning signs include unusual brittleness, cracking, surface deterioration, or loss of flexibility.
However, these characteristics cannot always be assessed visually. Some changes may require material testing or specialist evaluation.
The inspector should compare observed conditions with available manufacturer guidance.
Step 7: Document all Findings
Inspection records should describe the condition of the liner and any identified defects.
Useful information includes:
-
Inspection date.
-
Tank identification.
-
Inspection method.
-
Areas examined.
-
Areas that remained inaccessible.
-
Photographs of defects.
-
Approximate defect dimensions.
-
Locations of previous repairs.
-
Recommended follow-up actions.
Consistent records help identify changes between inspections. They also support maintenance planning and future assessments.
Common Types of Water Tank Liner Damage
Different damage types may require different investigation and repair methods. Understanding common defects helps inspectors recognise potential problems.
| Damage type | Typical appearance | Possible cause |
|---|---|---|
| Punctures | Small holes or localised membrane damage | Sharp objects or mechanical contact |
| Tears | Linear or irregular openings | Excessive stress or impact |
| Abrasion | Worn or scuffed membrane surfaces | Repeated contact with rough materials |
| Seam separation | Visible opening along a joined section | Fabrication defects or mechanical stress |
| Cracking | Surface splits or fractures | Ageing, chemical exposure, or stress |
| Excessive deformation | Unusual stretching or distortion | Movement, loading, or poor support |
| Connection damage | Defects around fittings or penetrations | Movement or unsuitable detailing |
These observations can help guide further assessment. However, the visible appearance alone may not establish the underlying cause.
Punctures and Tears
Punctures can result from sharp surfaces, dropped objects, or unsuitable installation conditions. Tears may develop when the membrane experiences excessive tension or mechanical loading.
The severity depends on defect size, location, and containment requirements. Even a small opening may require attention if it compromises the barrier.
Seam Damage
Seam problems may result from unsuitable joining methods, installation defects, or subsequent mechanical stress. A failed seam can create a direct leakage path.
However, not every visible seam variation indicates failure. Appropriate testing may be necessary.
Abrasion and Surface Wear
Abrasion occurs when repeated contact gradually wears the membrane. It may develop near rough supporting surfaces or moving components.
Protective detailing can help reduce abrasion risks.
Chemical and Environmental Deterioration
Chemical exposure may alter membrane properties. Temperature and ultraviolet exposure can also influence ageing, depending on the material.
The relevant risks depend on the membrane formulation and operating environment.
How can You tell whether a Water Tank Liner is Leaking?
Liner leakage is not always easy to identify. A falling water level may suggest leakage, but other explanations should be investigated.
Evaporation, operational water use, and connected pipework may affect water levels. Similarly, moisture around a tank does not necessarily originate from the liner.
Common Warning Signs
Potential indicators include:
-
Unexplained water loss.
-
Persistent moisture around the tank structure.
-
Visible defects in the membrane.
-
Leakage near liner connections.
-
Repeated moisture accumulation.
-
Changes around previously repaired areas.
These signs warrant investigation. However, they do not independently confirm liner failure.
When is Specialist Leak Detection Necessary?
Specialist assessment may be appropriate when visual inspection cannot identify the leakage source. Testing methods depend on membrane material, tank construction, and accessibility.
Not every method is suitable for every tank. Testing should follow an approved procedure that protects the liner and surrounding structure.
Can You Inspect a Water Tank Liner without Draining the Tank?
Some preliminary assessments can be completed without draining the tank. For example, operators may observe external leakage, water level changes, and accessible components.
However, a detailed examination of submerged liner surfaces may require specialist methods. The feasibility depends on water clarity, tank configuration, and inspection objectives.
Remote Visual Inspection
In certain applications, remotely operated inspection equipment may help examine submerged surfaces. This can reduce the need for direct human entry.
However, visibility and access restrictions may limit the results. Remote visual inspection also cannot establish every aspect of membrane integrity.
When is Draining Necessary?
Draining may be required when defects cannot be adequately assessed underwater. It may also be necessary for particular repairs or testing procedures. However, draining must be planned carefully.
For potable water tanks, water quality and recommissioning requirements must be considered. For fire protection tanks, operational impairment procedures may apply.
A qualified professional should determine the appropriate approach.
How to Assess the Severity of Liner Damage
Not all defects present the same level of risk. A small surface irregularity may have limited significance.
A through-membrane puncture can directly compromise containment. Severity assessment should consider several factors.
Location of the Damage
Defects near fittings, corners, or seams may require particular attention. These areas can experience concentrated stresses or complicated repair conditions.
Size and Extent
Larger defects may require more extensive repairs. However, defect size alone does not determine severity.
A small opening in a critical location may still require urgent action.
Condition of Surrounding Material
Repairs depend on the integrity of the surrounding membrane. If the material is extensively deteriorated, localised repair may not provide reliable performance.
Accessibility
Some defects are difficult to access. Restricted access can influence testing and repair feasibility.
Consequences of Leakage
The consequences of containment failure depend on the tank’s purpose. A critical fire protection or potable water tank may require additional operational controls.
To understand how installation errors can affect liner performance, read common tank liner installation mistakes.
When Should a Water Tank Liner be Repaired?
Some localised liner defects may be suitable for repair. Examples include isolated punctures, small tears, and certain seam defects.
However, repair suitability depends on the membrane material and surrounding condition.
Factors Affecting Repair Feasibility
Consider:
-
The type of membrane.
-
Defect location.
-
Extent of damage.
-
Condition of surrounding material.
-
Accessibility.
-
Approved repair methods.
-
Required containment performance.
-
Previous repair history.
Repairs should use compatible materials and appropriate procedures. The completed repair may also require testing.
When is Replacement more Appropriate?
Replacement may be necessary when damage is extensive or the membrane has deteriorated significantly. Examples include widespread cracking, repeated failures, and unsuitable original material selection.
The decision should follow a suitable condition assessment. For a broader comparison of restoration options, tank relining vs tank replacement explains important factors affecting the decision.
How to Prevent Water Tank Liner Damage
Preventive maintenance can help reduce avoidable membrane damage. However, effective prevention begins with suitable liner selection and installation.
Choose the Right Material
The liner must suit the stored water and expected operating conditions. Chemical treatment, temperature, and mechanical requirements should be considered.
Prepare Supporting Surfaces
Rough surfaces and sharp objects can damage membranes. Suitable preparation reduces the likelihood of punctures and abrasion.
Protect Vulnerable Areas
Corners, fittings, and other high-stress areas may require additional protective detailing. The design should account for foreseeable movement and loading.
Follow Approved Installation Procedures
Correct positioning and seam fabrication are essential. Installation should follow the membrane manufacturer’s requirements.
Maintain Inspection Records
Consistent documentation helps identify developing defects. It also supports repair planning and future condition assessments.
Investigate Problems Early
Unexplained water loss or visible membrane damage should be assessed promptly. Delaying investigation may allow deterioration to progress.
Water Tank Liner Inspection Checklist
The following checklist summarises important inspection points.
| Inspection area | What to look for |
|---|---|
| External tank surfaces | Moisture, leakage, and unusual water accumulation |
| Accessible liner surfaces | Punctures, tears, abrasion, and deterioration |
| Seams and welded joints | Separation, distortion, and visible damage |
| Corners and transitions | Stretching, folds, and mechanical stress |
| Pipe penetrations | Connection damage and possible leakage |
| Previous repair areas | Recurring defects or material deterioration |
| Supporting surfaces | Potential abrasion and puncture risks |
| Inspection records | Changes since previous assessments |
This checklist supports visual condition assessment. It does not replace specialist testing, manufacturer instructions, or applicable inspection standards.
Conclusion
Water tank liner inspections help identify damage, monitor membrane condition, and support informed maintenance decisions. A systematic approach should examine accessible surfaces, seams, corners, fittings, and previous repair areas.
However, visual inspections cannot detect every defect. Specialist testing may be required when leakage is suspected or membrane integrity remains uncertain.
Safe access, accurate documentation, and appropriate follow-up actions are essential. By identifying potential problems early, tank operators can better manage liner performance and reduce avoidable maintenance risks.